


In this article
What is a diffuser on hair dryer? Fancy jazzing up your hair drying routine with a touch of creativity? Look no further! Get ready to DIY your very own hair dryer diffuser in a few simple steps. Think of it as a fun project to sprinkle some excitement into your daily hair care regimen. With just a few household items and a pinch of imagination, you'll be on your way to achieving perfect locks from the comfort of your own home. So grab your hair dryer and let's dive into this DIY adventure—your fabulous hair awaits!
Materials needed
-
A plastic cup or bowl
-
A pair of scissors
-
A rubber band
-
A piece of tinfoil or a mesh fabric
-
Some tape (optional)
Steps to make a diffuser for a hair dryer
In this part, learn from the guide to DIY a diffuser.
-
Begin by taking the plastic cup or bowl and using the scissors to carefully cut out the bottom, creating an open-ended cylinder. Ensure that the cylinder is wide enough to fit over the nozzle of your hair dryer.
-
Next, select a piece of tinfoil or mesh fabric that is large enough to cover the open end of the cylinder with some overlap. If using tinfoil, crumple it slightly to create a textured surface that will help diffuse the airflow.
-
Place the tinfoil or mesh fabric over the open end of the cylinder, ensuring that it is centered and covers the entire opening.
-
Secure the tinfoil or mesh fabric in place by wrapping a rubber band around the outer edge of the cylinder. Make sure the rubber band is tight enough to hold the material securely in place but not too tight to cause damage.
-
Optionally, you can reinforce the attachment of the tinfoil or mesh fabric by using tape to secure it to the cylinder. This will provide added stability during use.
Your DIY diffuser is now complete! To use it, simply attach it to the nozzle of your hair dryer, ensuring a snug fit. The textured surface of the tinfoil or mesh fabric will help disperse the airflow, creating a gentle and even distribution of heat for styling your hair without causing frizz or damage.
Tips for using the homemade diffuser
Want to make full use of your DIYed diffuser, here are some tips listed in this part.
-
For best results, use the diffuser on damp hair rather than soaking wet or completely dry hair. This helps to set your desired style while reducing frizz.
-
To prevent heat damage and minimize frizz, use the lowest heat and speed settings on your hair dryer when using the diffuser attachment.
-
Divide your hair into small sections and place them into the diffuser, starting from the roots and working your way down to the ends. This ensures even distribution of heat and helps to define curls or waves.
-
Avoid over-drying your hair with the diffuser attachment, as this can lead to frizz and damage. Instead, use the diffuser until your hair is about 80% dry, then allow the rest to air dry naturally.
-
When using the diffuser, avoid moving it around too vigorously, as this can disrupt the natural curl pattern and cause frizz. Instead, move the diffuser in a gentle, circular motion to evenly distribute heat and encourage natural curl formation.
-
Don't be afraid to experiment with different techniques when using the diffuser attachment. Try scrunching your hair with your hands while using the diffuser, or flipping your head upside down for added volume and definition.
3 replacements of hair dryer diffuser
If you don't have a diffuser and you have no time to DIY it, try those replacements to help blow out your hair.
1. Sock diffuser
Simply slip a clean, cotton sock over the nozzle of your hair dryer to create a makeshift diffuser. The soft fabric helps to disperse the airflow gently, reducing frizz and enhancing natural curls or waves.
2. Plastic bottle diffuser
Cut the bottom off a plastic bottle, leaving a cylindrical shape with an open end. Poke holes into the sides of the bottle to allow airflow, then attach it to the nozzle of your hair dryer. This DIY diffuser provides a wider surface area for more even heat distribution.
3. Silicone diffuser attachment
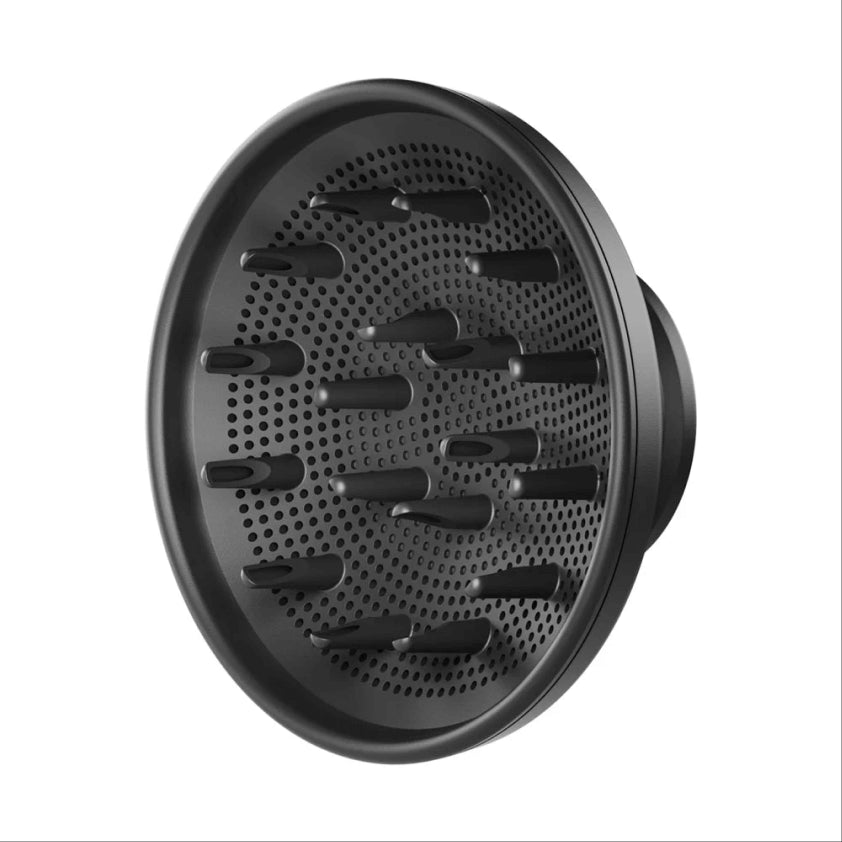
Silicone diffuser attachments are flexible, collapsible attachments that fit over the nozzle of most hair dryers. They feature small, finger-like extensions that help to lift and separate the hair, creating volume and enhancing curls or waves while minimizing frizz. These attachments are widely available and can be purchased online or at beauty supply stores.
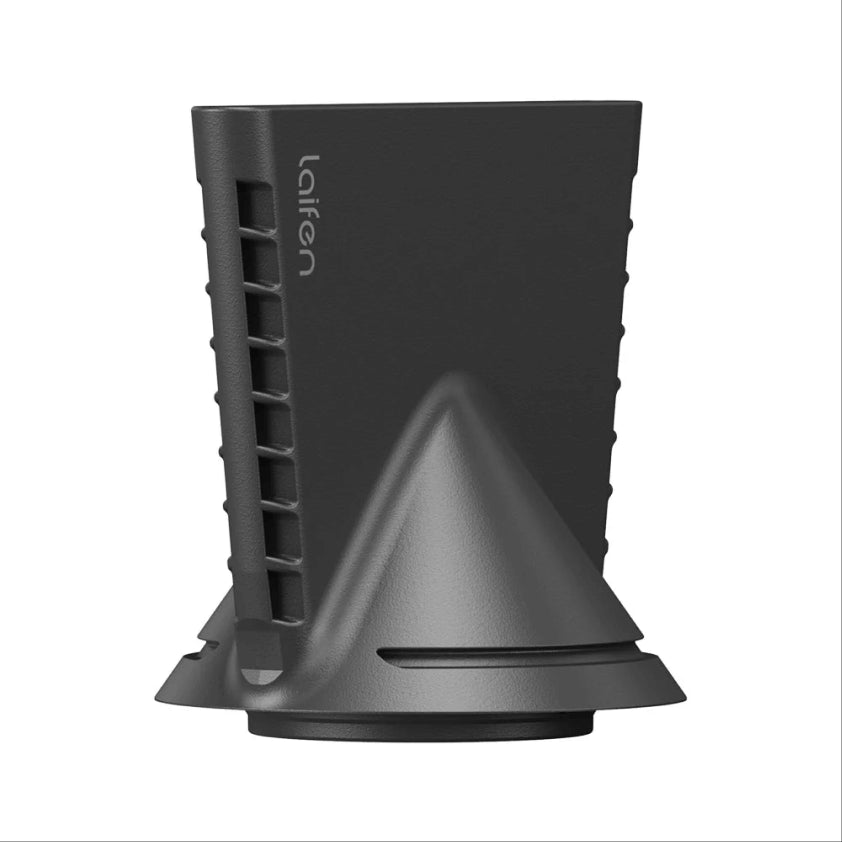
Choose Laifen hairdryer diffuser without shipping
Get our hairdryer diffuser without shipping charges! It's a total game-changer for your hair routine. With Laifen diffuser, you're getting top-notch quality without breaking the bank. Plus, it's super convenient to use and fits perfectly with your hairdryer.


